Tabs - Tutorials

Saturday, October 29, 2011

Distress and Acrylic Paint


Tutorial from October Whimsy Magazine!


Find this and much, much, more in the Whimsy Magazine issue #4 here


It's my turn to share one of my October Whimsy magazine projects today!  I picked up several of these fabulous ready to paint  frames from Hobby Lobby and made family Christmas gifts as well as Craft sale projects too!

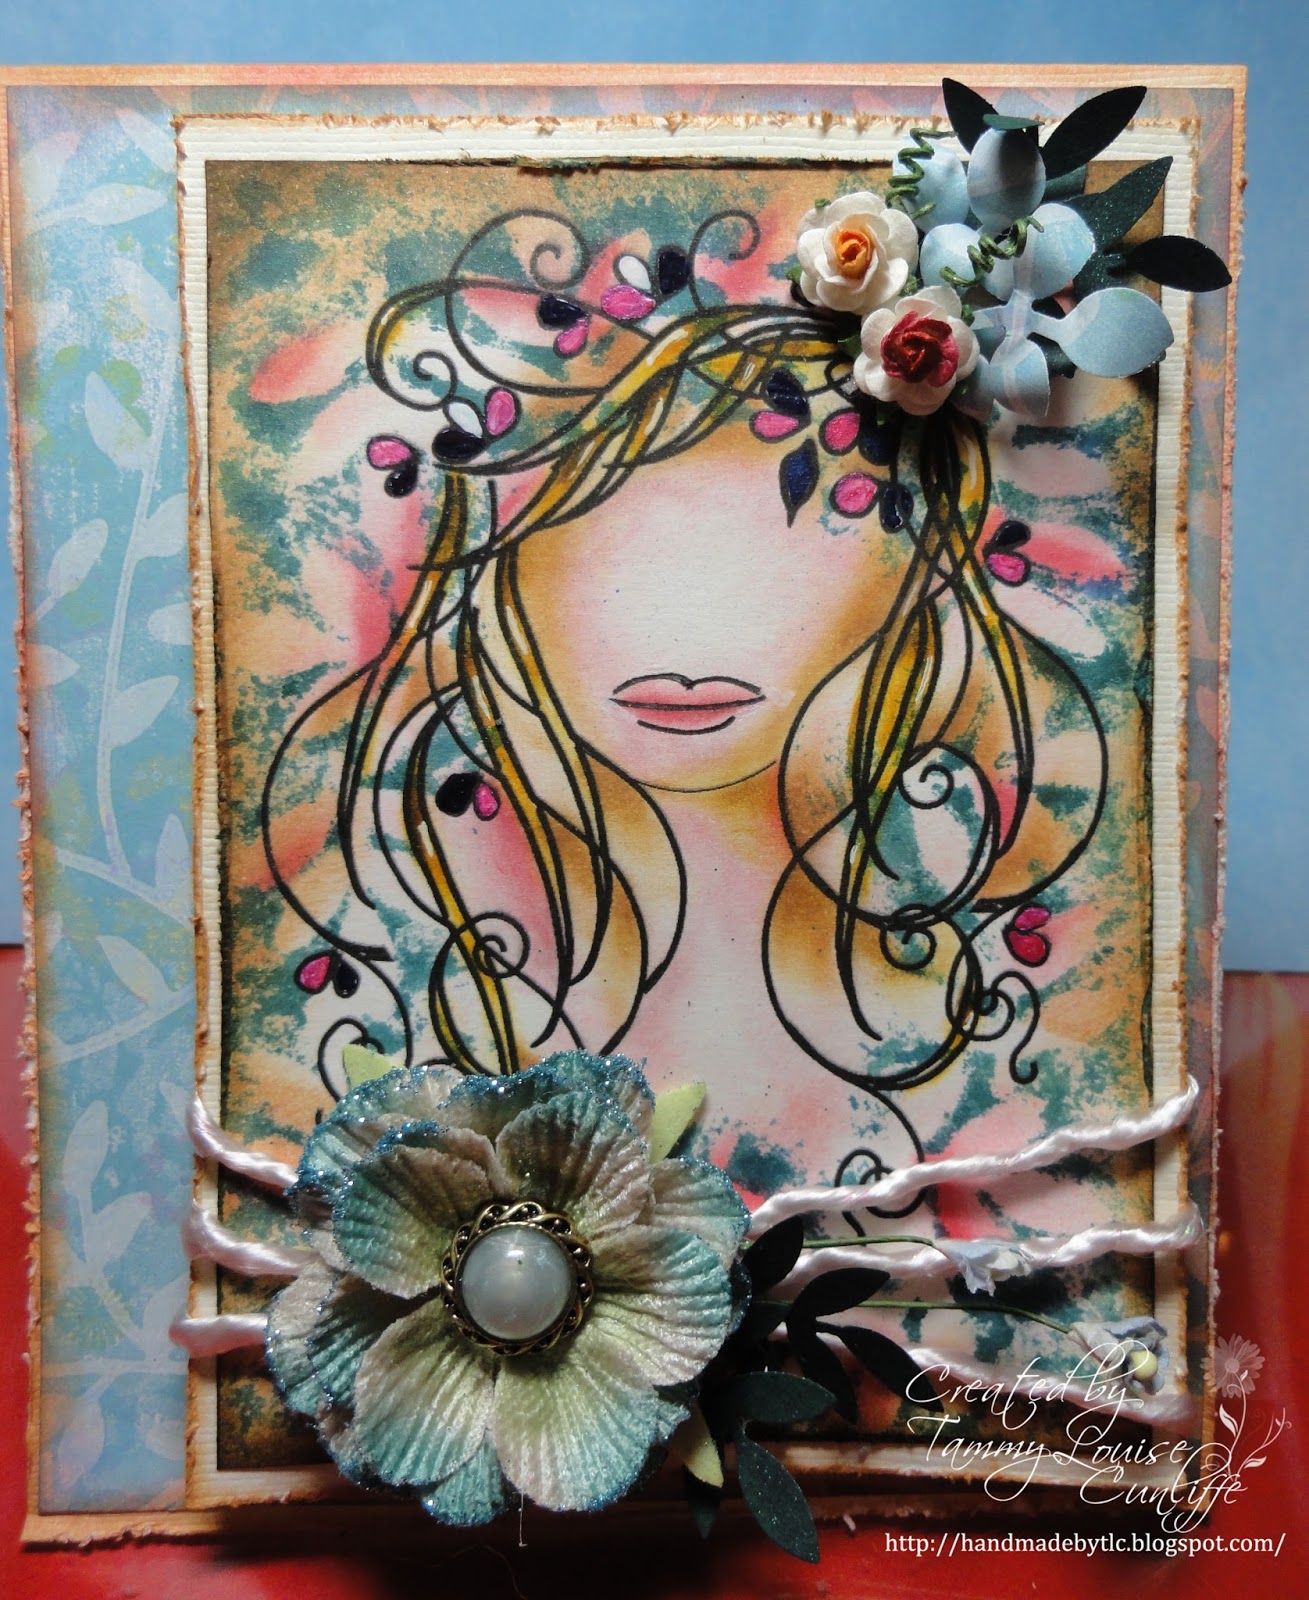
Create the Backdrop Painted Frame


 INGREDIENTS:
Whimsy "Welcome Baby Die"
Bow Easy Tool
DP for leaves by Reminisce
McGill 7 leaf punch
Sentiment by Raindrop Echo Design w/ Whimsy
Frame~ Plaid square 7x7 inch

 MEDIUMS:
Plaid Acrylic Paint
Distress Crackle paints: Antique Linen, Walnut Stain, 
Memento black ink
Ranger Distress ink Spiced Marmalade, antique Linen, Walnut Stain
Mod Podge

 EMBELLISHMENTS:
Whimsy Circle Pearl Ribbon Slide
Fern ribbon WOC
Tulip Beads in a bottle white
Gold wire Christmas Ribbon from Hobby Lobby

 INSPIRATIONAL THOUGHT FOR THE DAY:

Even Wisdom can come from inspiration

Thank you for visiting,

Tuesday, August 2, 2011

Tutorial on Masking Distress

The Beauty of Spring!

I've been going outside of the box a lot lately but today I thing I've gone right past the box and onto the floor with this one! I went from digi image onto white paper to spotting Ranger Distress in in two different colors by hand with a distress sponge.  But before that I thought it would be an ideal look if the shape of leaves were masked off first.  So I played it by ear and went for it and in the meantime, I took loads of photos.  I hope you get inspired to try it and enjoy it as well!  

I have to warn you, It's really messy!  But a ton of fun!

Removable tape runner on leaves

Spray from up to 8 inches away to cover pad and combine colors


Be sure to get close to leaves to enhance their shape


dry first then remove leaves and add highlight color


INGREDIENTS: 
Bazzill Stock " French Vanilla"
Tim Holtz Distress tool
McGill Punch "leaves"
Martha Stewart "leaves"
Image is "Spring Beauty" ~Dragon Designs
Sentiment was saved under Marion with Create TLC

Sentiment on Front

Sentiment inside


 MEDIUMS:
Copic Markers for altered flowers
Ranger Distress Ink:  Tea Dye, Worn Lipstick, 
Walnut Stain, Wild Honey, Spun Sugar
Tattered Angels glimmer mist "Saphire" and "Meadow Green"
Smooch "Nautical Navy" and "Shabby Pink"
Signo "White"

 EMBELLISHMENTS:
Wild Orchid Crafts flowers/ altered
Rope Ribbon from stash
 Prima Flowers "Ameruse Duchessmix"


 INSPIRATIONAL THOUGHT FOR THE DAY: 
You must do the things you think you cannot do.
- Eleanor Roosevelt

 Thank you for visiting,

Friday, May 20, 2011

Tutorial on hand made 3D butterflies sewn


Written tutorial w/photos
INGREDIENTS:

Hand punched flowers
Martha Stewart Butterfly punch
Thread and needle
embossing wand for curling


I can walk you through easy steps however,


FLOWERS
1.  French Knots ~ basic cross stitch
a. up through the bottom of the flower
b.  wind the thread around the needle 2 to 6 times
c.  put needle through the same hole back down from the top.
d. take flower to dp and sew thread down then up for the next flower, gives the border flower cluster look naturally then tie off.


BUTTERFLIES
2.  Back Stitch ~ basic cross stitch
a. at the head of butterfly, sew up through the bottom, 
b. 1/8th inch back toward the tail of the butterfly down, 
c. then 1/8th inch farther toward the tail up again, 
d. then backwards 1/8th inch toward the head.  
e.  Continue to the end of the tail or near the end so your last stitch is down and tie off.


EMBELLISHMENTS:

Stickles and gems from Bo Bunny

Finished product!
INSPIRATIONAL THOUGHT FOR THE DAY:

Those that put the time in can get our money out!
Thank you for visiting,

Friday, March 25, 2011

New Tutorial Arrivals

Hello Again,

There may not be a lot of followers to this portion of my Blog home, but you all really are deserving of these next few finds! 

The exploding Fairy Box, the Circle card, the Beautiful and inspiring Birthday card.  All of them master pieces I want to share from their perspective creators.  Please always follow blog etiquette and give credit where credit is due by linking back to their origination's and then get crackin!  I know I will.  hehe

I also follow a ton of candy on the "Candy" tab above and the Challenge tab has numerous fun and rewarding challenges and the most recent post is one I think I want to leave up top until I complete every days worth of challenges I enter for both my reference and for a great start up sheet to get reference info from for all of you. 

Thanks for visiting,
Above is my special boy!  Autistic and beautiful in every way my little Christian Dean!

This was the "Worlds largest hug" campaign in Belleville MI and that adorable teen is my girl Sammantha.   We encompassed her entire High School withing the volunteers of our community for donations to Charity.  A proud and happy moment.

INSPIRATIONAL THOUGHT FOR THE DAY:
Share what you can with them. . . while you still can!


Saturday, March 5, 2011

Ribbon Rose Tutorial

Ribbon Rose by TLC


These Ribbon Roses are created from textured or satin ribbon as well as organze, the tighter the ribbon is wound around the beginning knot, the smaller the flower will be.  The flower generally uses 24" of ribbon.

INSPIRATIONAL THOUGHT FOR THE DAY:

Why pay someone else if you have the means to do it yourself?

Thanks for stopping by,


Friday, February 11, 2011

My training courses and/or Tutorials for the craft

~Learn something new everyday~

~Never stop learning~

~Knowledge is power~

~Share what you've learned~

All of these things will make us wiser, stronger, and better equipped to face our world every day.  My daddy always says that you never know who you can be or what you can accomplish unless you try!

Hope you've learned something today!
Thanks for stopping by~